Building a Serverless Ecommerce Store

Yes, it's true!
You can build a storefront in an hour without spinning up a server.
WTF, how?!
-- you, probably
Gone are the days of paying expensive devs or fiddling with strange Wordpress extensions.
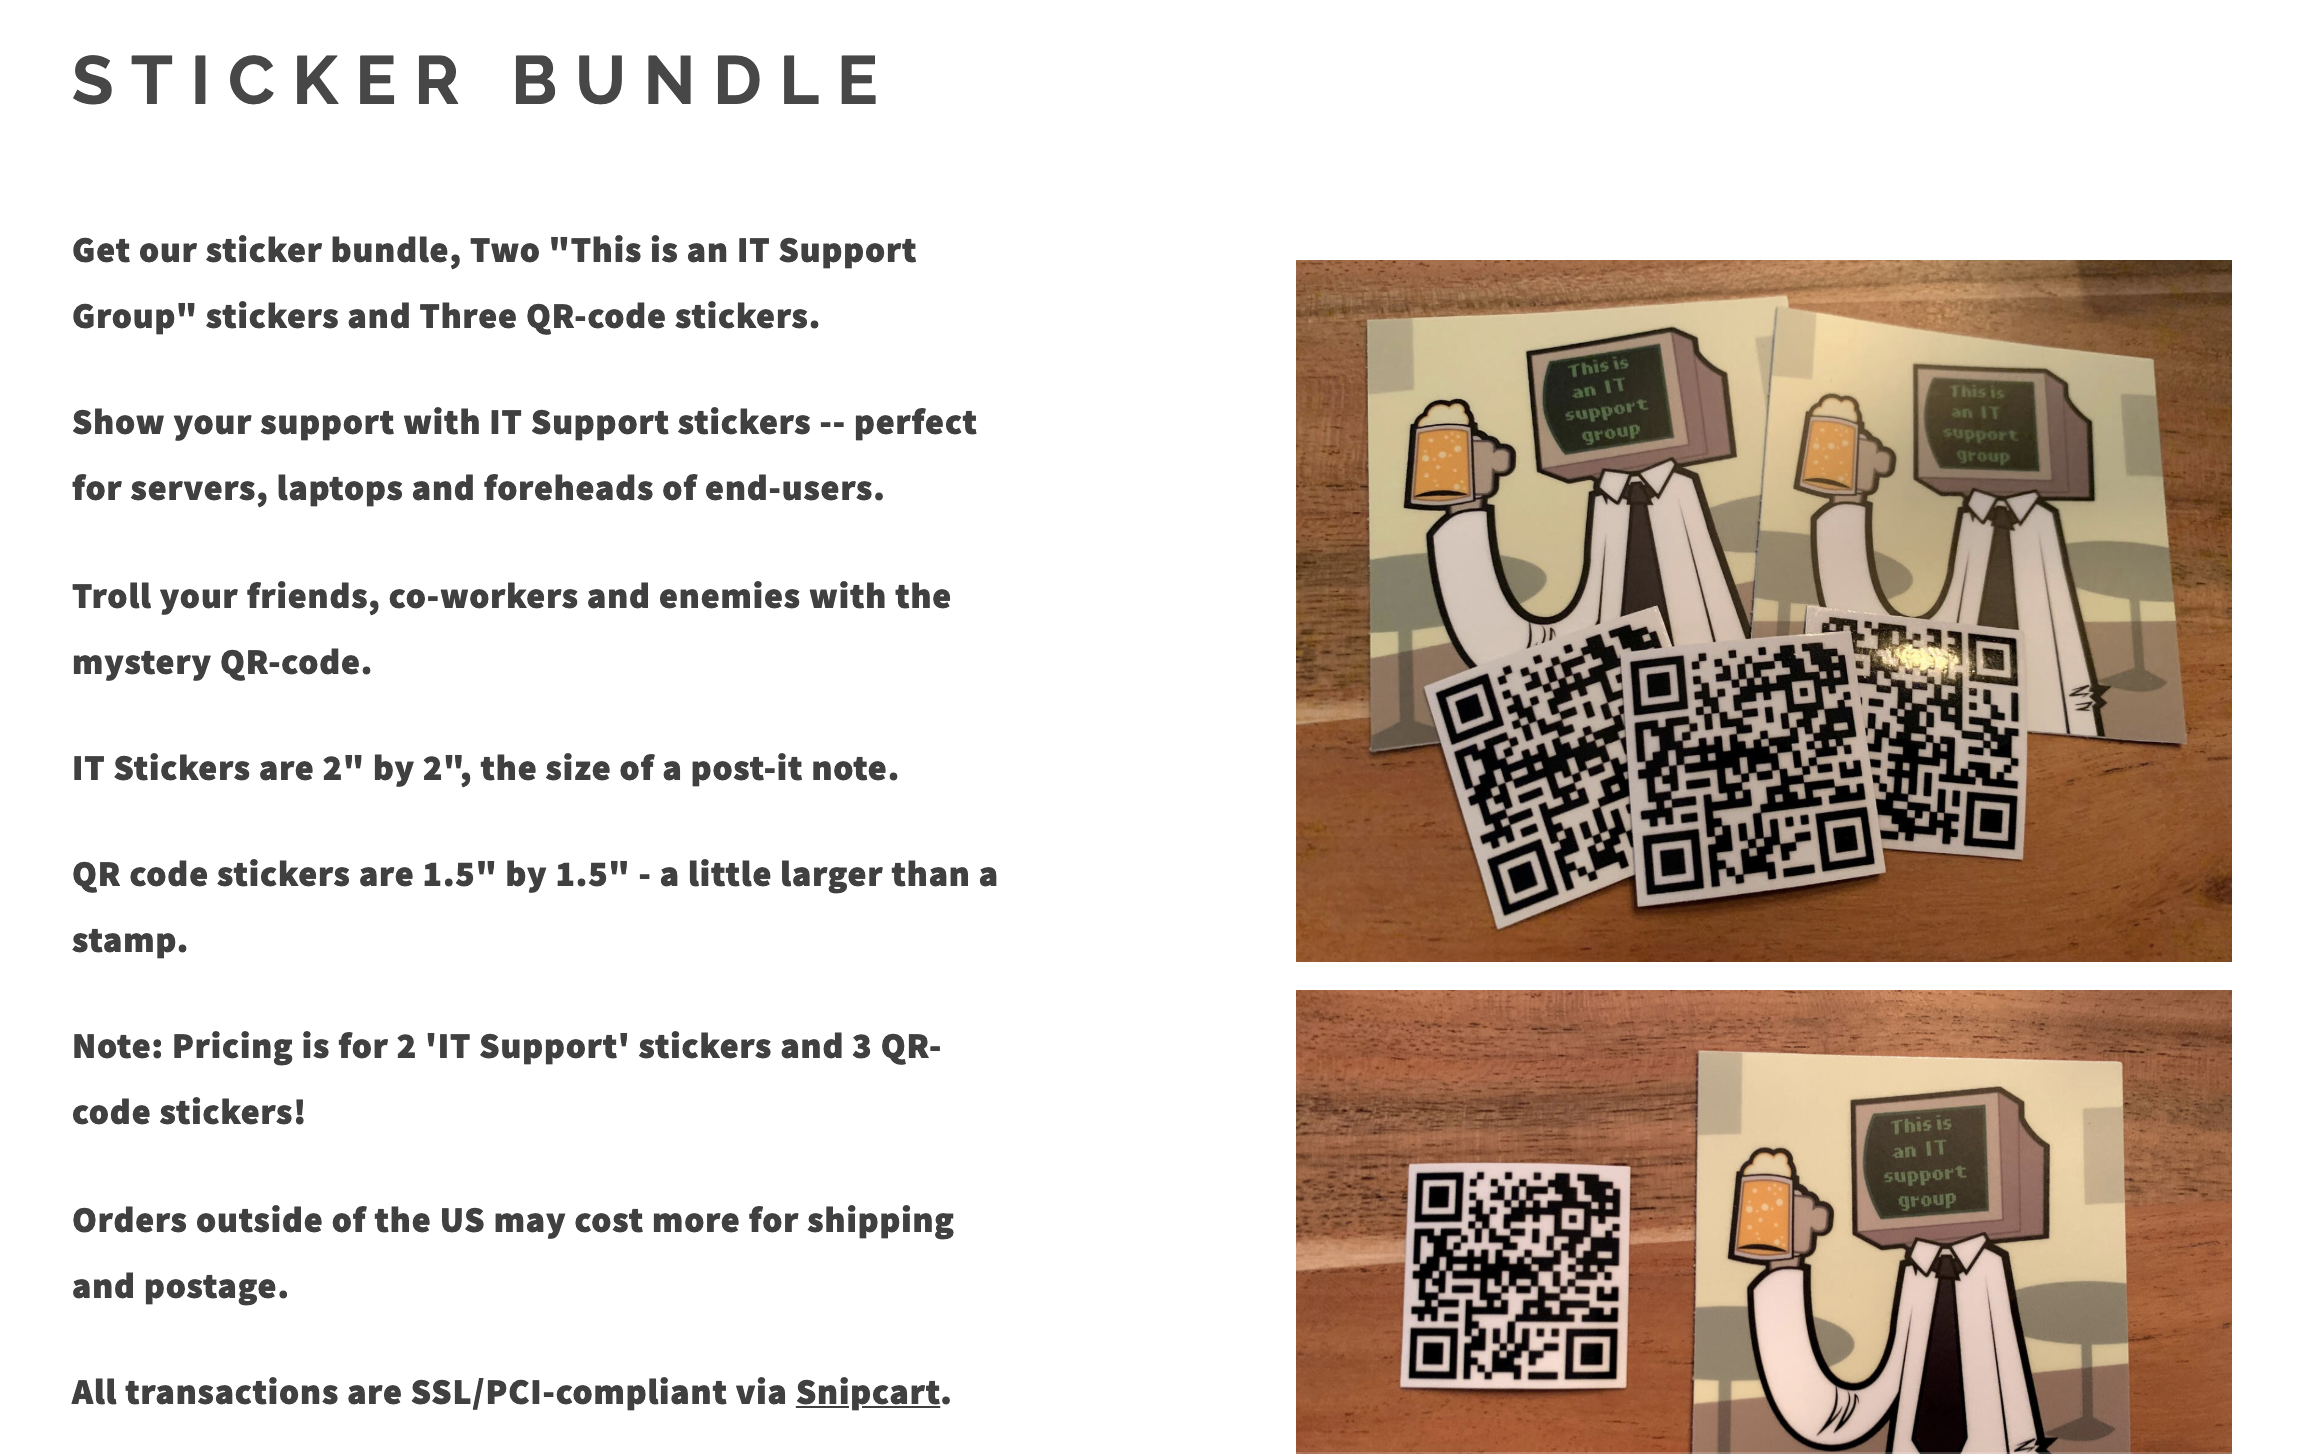
I run a Facebook group, This is an IT Support Group, and I wanted to sell a few stickers of the group's logo. I didn't want to configure another server, pay for a Shopify subscription, or anything else that required a ton of work.
I'm lazy like that.
I'll show you exactly how to build a storefront that can accept payments and manage inventory.
If you want to skip ahead to the finished product, it's here: http://bit.ly/ITSupportStickers
Building the front-end
I'm a big fan of carrd.co -- Carrd allows you to build simple, one-page websites with a visual editor. It's great for testing ideas quickly and getting content out quickly.
I started by choosing a starter landing page in Carrd.co. I deleted any elements that weren't helpful and added a couple of pictures of my sticker and a description with the text and image elements.
WTF is a Snipcart?
Next, we'll sign up for Snipcart.
Snipcart is an ecommerce solution that works in a unique way -- all of the config and inventory is held in html attributes on the store page!
"What if some joker just changes the html and gets my stuff for free, that's not cool and serverless sucks" -you again, maybe
Snipcart takes security seriously. Before orders are processed, their servers crawl your store's front page and verify the pricing and details are all correct.
Best of all, Snipcart will let us set up an ecommerce store with zero(ish) code. Okay, some code, but zero server configuration. Nice.
Snipcart Config
Add the default stylesheet
On your Carrd page, add an </> Embed element. Be sure to set the type as Code, Style to Hidden and paste the stylesheet element under the code section:
<link rel="stylesheet" href="https://cdn.snipcart.com/themes/v3.0.5/default/snipcart.css" />
Adding Snipcart
Add another </> Embed element to Carrd with the same settings as above, but this time, grab your API key code from Snipcart under Dashboard > Account > API keys:
<script src="https://cdn.snipcart.com/themes/v3.0.4/default/snipcart.js"></script>
<link rel="stylesheet" href="https://cdn.snipcart.com/themes/v3.0.4/default/snipcart.css" />
<div id="snipcart" data-api-key="ZjZlZDA4ZWItMzI4OC00MDcxLWFjY2UtODlmZTZhZmMwNjc1NjM3MTEyNzIxMDk4Nzg4NTgy" hidden></div>
These API keys are special and don't need to be protected like you normally might do with super-secret API keys.
Adding Inventory
Let's add our first product and a way to checkout!
Attributes are where we'll set our item's price, description and title!
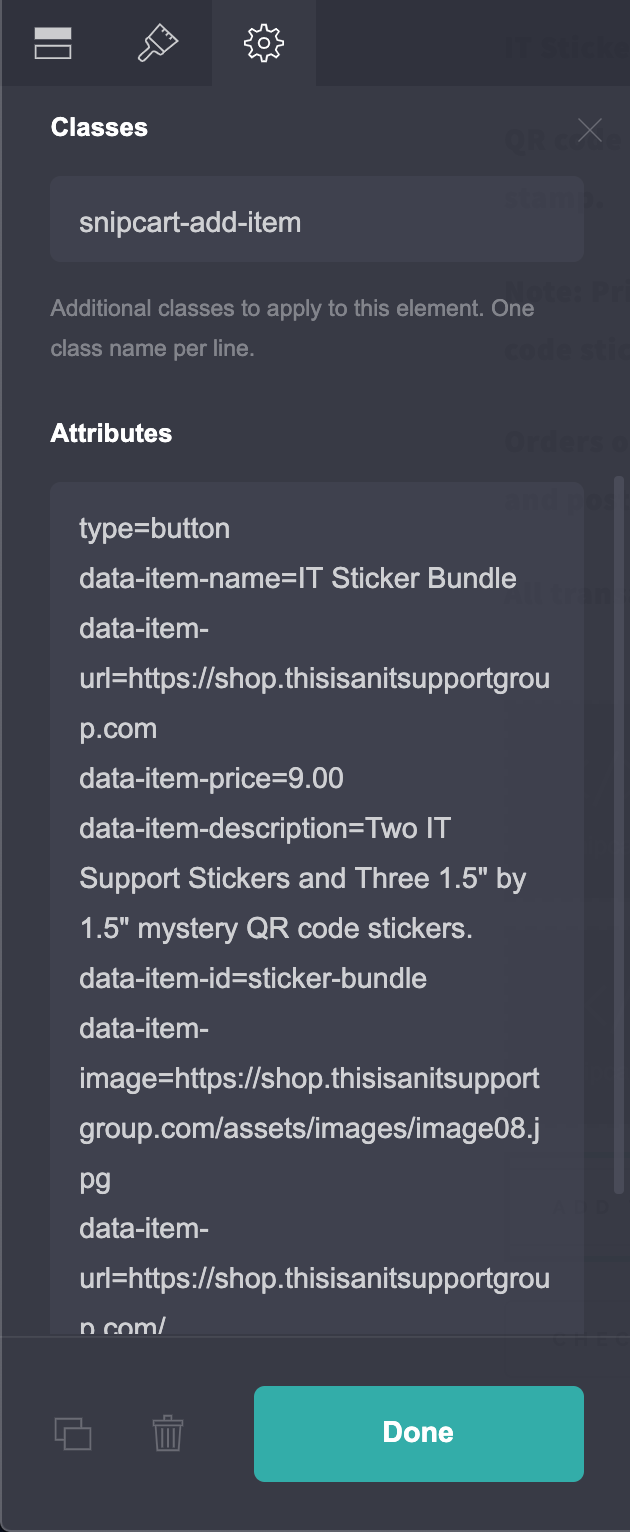
I've set my attributes as:
type=button
data-item-name=Two IT Support Stickers
data-item-url=https://shop.thisisanitsupportgroup.com
data-item-price=5.00
data-item-description=Two 2" by 2" This is an IT Support Group stickers. Each Quantity is 2 stickers.
data-item-id=it-support-logo-sticker
data-item-url=https://shop.thisisanitsupportgroup.com/
data-item-custom1-options=US Shipping|Non-US Shipping[+2.00]
Name, id and price are mandatory fields. The others just add a little more detail to the item, like a description and a picture for the cart.
Here's more details from Snipcart's Docs:
Add an Add-To-Cart Button
Add a buttons element to your Carrd page and open the settings gear. Name your button Add to Cart or whatever you want.
Hit the gear icon and under classes and paste: snipcart-add-item
Cool. that works well, but if users go back to the item page they'll have no option to check out, just add another item.
Add a Check-out Button
Add another button element to Carrd, named Checkout, My Cart or similar.
This time, set the Classes section to snipcart-checkout. No Attributes needed!
Testing Our Shop
It's time to test our checkout flow! Make sure you're on Test mode with the toggle in your Snipcart dashboard.
Go to your landing page, add the item to your cart.
You can checkout with the test card number 4242 4242 4242 4242 CVC of 123 and a date in future.
If all goes well, you'll see the fake transaction in your dashboard.
Add a Payment Gateway
You'll have to add a payment gateway to actually receive payments. I use Stripe. Set up an account with Stripe and connect it to Snipcart in your dashboard.
Go live!
The Snipcart code we added earlier for our API keys will need to be replaced with our Live API keys. Get those from your Snipcart dashboard, replace the code, turn on the switch in Snipcart to make the shop live!
My shop, The IT Support Group shop, is live here
Welcome to the future. 😎
Bonus / Adding Code
I didn't think there'd be any code, wtf is this. - you, again
We don't really need any code, but code can be fun.
Snipcart supports webhooks for any event or transaction that occurs. When a sale is made, Snipcart will send event data to your configured web hook.
I really enjoy using Slack for real-time notifications. Let's set up a Slack alert every time we make a sale.
Let's spin up an endpoint with Chalice.
Chalice is an AWS fork of the python framework, Flask.
Flask is great for writing simple API's or serving websites.
chalice is seriously cool, we can spin up an API endpoint in minutes for totaly FREE via usage of the Lambda service and API gateway.
You'll need an AWS account for this part, but it'll be totally free.
I'm assuming you have an AWS account. If not, they are free and have a generous free-tier.
We won't spend any money here. I'm cheap.
First, set up a Slack webhook
Make a new virtualenv to contain our packages, activate it, install chalice.
$ pip install virtualenv
$ virtualenv ~/.virtualenvs/chalice-demo
$ source ~/.virtualenvs/chalice-demo/bin/activate
Add your AWS Access keys.
$ mkdir ~/.aws
$ cat >> ~/.aws/config
[default]
aws_access_key_id=YOUR_ACCESS_KEY_HERE
aws_secret_access_key=YOUR_SECRET_ACCESS_KEY
region=YOUR_REGION (such as us-west-2, us-west-1, etc)
Make a new Chalice project
$ chalice new-project snipcart_webhook
$ cd snipcart_webhook
Create a file called requirements.txt and add requests to it. We'll use the requests library to call Slack and POST our message details.
Next, open your app.py and paste the following in:
from chalice import Chalice
import requests

app = Chalice(app_name='helloworld')

# paste your own SlackWebhook here 👇
slackWebhook = ("https://hooks.slack.com/services/x/x")

def slackAlert(payload, channel="#snipcart"):
	slack_data = {"text": payload, "username": "Snipcart", "channel": channel}
	response = requests.post(
		slackWebhook,
		json=slack_data,
		headers={"Content-type": "application/json"},
		timeout=5,
	)
	if response.status_code != 200:
		raise ValueError(
			"Request to slack returned an error %s, the response is:\n%s"
			% (response.status_code, response.text)
		)


@app.route('/snipcart', methods=['POST'])
def snipcart():
	request = app.current_request
	data = request.json_body
	fullName = data['content']['shippingAddress']['fullName']
	city = data['content']['shippingAddress']['city']
	message = 'New sticker order for {} in {}'.format(fullName, city)
	if data['eventName'] == 'order.completed':
		slackAlert(message)
	return('Thanks, Snipcart!'), 200

@app.route('/hello', methods=['GET'])
def hello():
    return('Hello! 👋')
In the above code, we setup our Slack webhook, create a function (slackAlert) for sending Slack messages and then create a "route" at /route that receives our webhook from Snipcart, parses out details and passes it back to the slackAlert function.
We'll also add a simple route for testing at /hello
Finally, push your code to AWS with
$chalice deploy
...
Initiating first time deployment...
https://qxea58oupc.execute-api.us-west-2.amazonaws.com/api/
Chalice will return an API endpoint url. Go ahead and test the test endpoint we made and checkout the reply:
curl https://mbazi1dxs8.execute-api.us-east-2.amazonaws.com/api/hello
Hello! 👋%
If you have test mode turned on in your store, you can make another test transaction to see our results.

BOOM 💥
The transaction was made, an endpoint was called, another webhook was called to Slack. Webhooks within webhooks. Webhookception.
Lessons Learned
I hope this was a helpful introduction to Carrd.Co and Snipcart.
No-code tools are gaining a lot of traction lately and I think that's a great thing.
The more people that have the opportunity to access technology and entrepreneurship, the better off society is.
This is an IT Support Group is a growing community for IT professionals to gather and discuss their careers, technical issues and post memes. It's a lot of fun.
The IT Support Group shop, is live here
Comments, Questions? I'm at stetson@heliositservices.com